Setting up a recursive DNS server and ad-blocker for your home
Setting up your Raspberry Pi
We need to first install the Raspberry Pi Lite OS into our SD card. To streamline the process we will be using the Raspberry Pi Imager you can download here:
https://www.raspberrypi.org/software/
So choose the Raspbery Lite OS as an Operating System, connect and select the SD card for this operation, the SD card will be wiped during this process.
Once the process has been completed, safely remove the SD card and then re-insert it. Nagivate to the /boot drive and within the directory create a new extensionless file named ssh. This will allow us to ssh into our raspberry pi over the network.
Now insert the SD card into your raspberry pi, link up your raspberry pi into your router using an ethernet cable and then plug in the power cable.
Setting a Static IP for the Raspberry Pi on the router
Access the default gateway of your router. You can find the default gateway by using the following commands:
On Linux
> ip route | grep default
On Mac
> netstat -nr | grep default
Look for the default gateway, in my case it is 192.168.1.1.
Copy and paste the IP address of your default gateway into the browser and you’ll be prompt to enter a username and password. Each router’s default username and password will be different. But in most cases the default for both the username and password will be set to admin.
Within the router portal, navigate to the LAN page where you can see the entries of devices connected to your router. The hostname of your raspberry pi will be raspberrypi and you should see the IP address your router has assigned it to. Copy the IP address and MAC address of the entry so we can set up a static ip address for the raspberry pi.
Navigate your router and look DHCP Reservation or Static IP Assignment and manually assign the MAC address of the raspberry pi to the IP address copied before so your router always reserves that desired IP address.
My raspberry pi is set up to be 192.168.1.50.
Access and Update the Raspberry Pi
To access your your raspberry pi we can now use the ssh agent.
Now the username we want to access is pi and the default password is raspberry.
In the terminal enter the following command:
> ssh [email protected]
Once you have entered the password follow the on screen prompts for the ssh agent. Now you should be logged in!
Make sure change the password for the pi user by entering the following command, then following the on screen prompts:
pi@raspberrypi:~ $ passwd
Now you should update and upgrade the existing system with the following command:
pi@raspberrypi:~ $ sudo apt update $$ apt upgrade -y
Once the raspberry pi has been updated we can proceed with installing Pi-hole.
Installing Pi-hole
Now we have set up and updated the raspberry pi and are currently accessing it through ssh. Our next step will be to install Pi-hole.
Please refer to Pi-hole’s github page to see your preferred installation method, but I will be using their One-Step Automated Install. However, using this method prevents you to review code that will run into your system.
So to start the installation process using the One-Step Automated Install enter the following command:
pi@raspberrypi:~ $ curl -sSL https://install.pi-hole.net | bash
Now you will be presented with a GUI that will step you through setting up Pi-hole. The default interface that you should use is eth0, to indicate that Pi-hole will only process queries coming through physical connections.
During set up I didn’t change anything and left everything as Default.
So after going through the set up GUI you will be shown the Installation Complete! page. You can press Enter one last time to go back to the terminal where you can assign your own custom password for Pi-hole’s admin interface.
To assign your own custom password, enter the following command (just replace password with your desired password):
pi@raspberrypi:~ $ pihole -a -p password
Now, lets test out if we are able to access the pi-hole admin interface. In your browser enter the ip assigned to your raspberry pi.
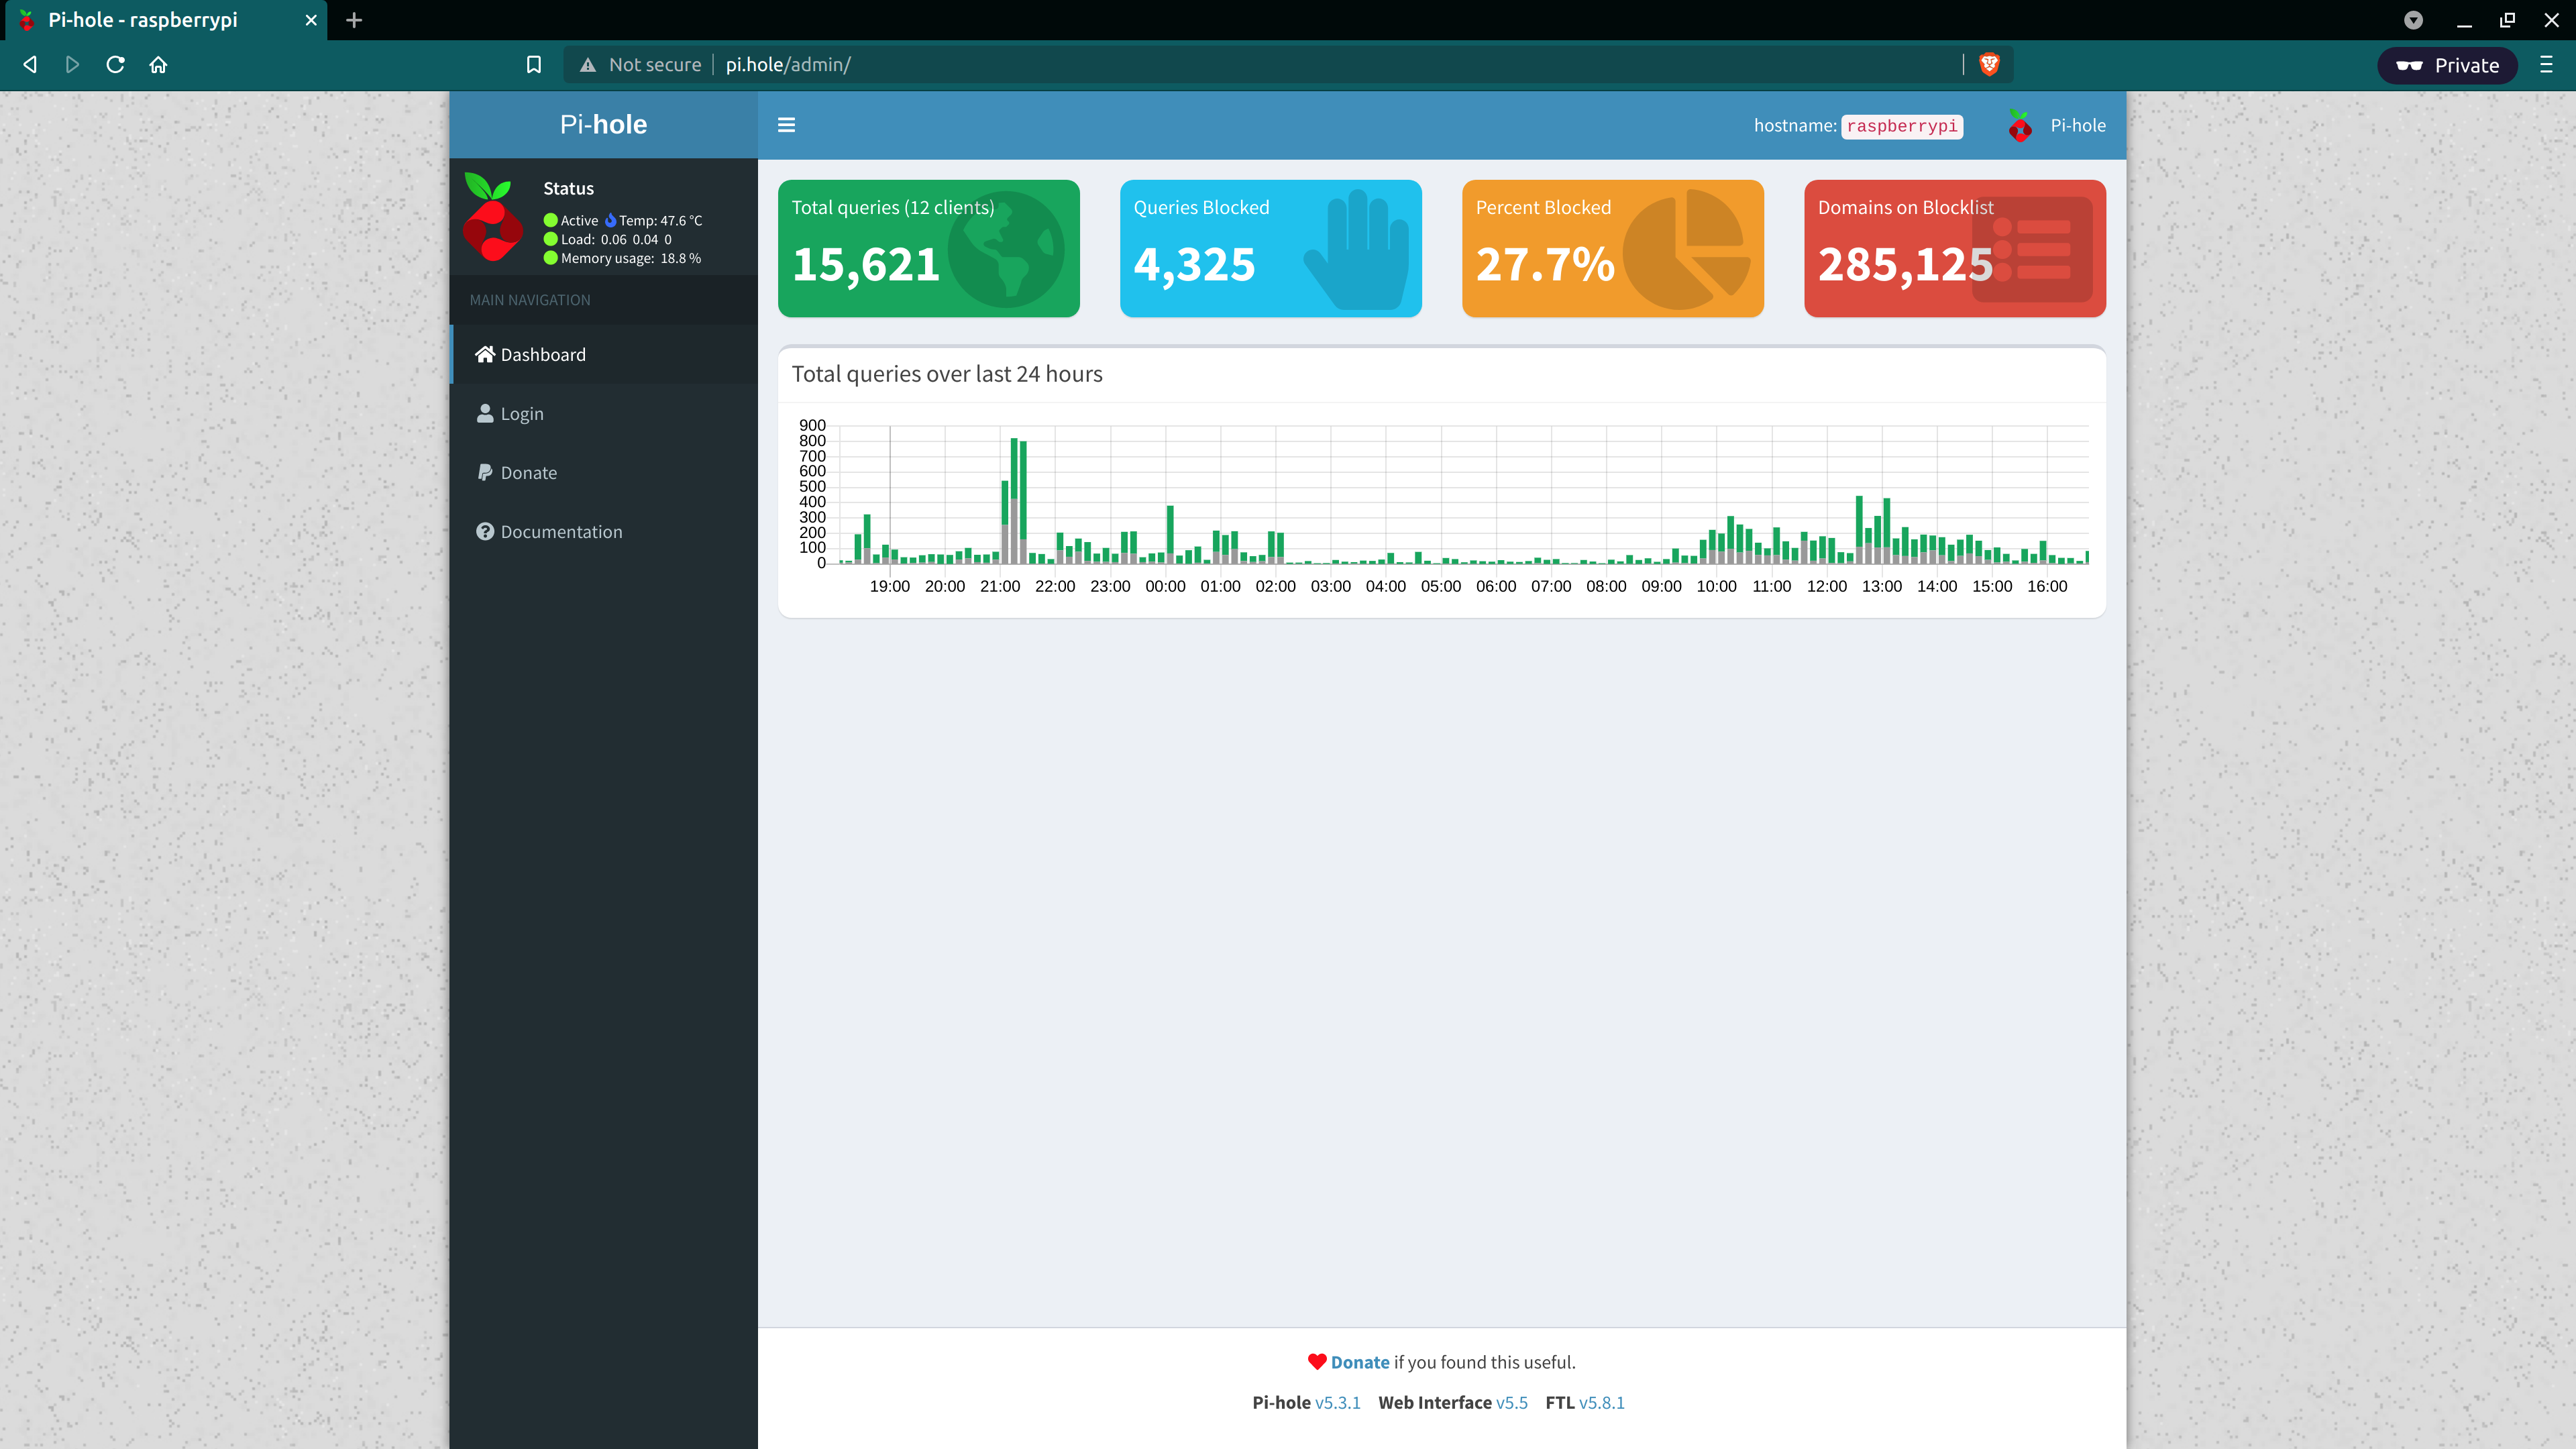
In my case this was set up to be 192.168.1.50, so on your browser enter http://192.168.1.50/admin, alternatively you can also use Pi-hole’s domain name http://pi.hole. You should be presented with Pi-hole’s admin interface.
On the admin interface you will be presented with a dashboard for an overview on what queries Pi-hole has processed.
You can log into the admin console using the Login tab and entering the password you set up previously.
Once logged in, you will be able to see more options available to you.
We need to set up Use Conditional Forwarding so Pi-hole can determine the names of the clients. If this is not set up, all request will appear as your home router.
So in your Pi-hole admin console navigate to Settings then to the DNS tab.
Now scroll all the way to the bottom and enable Use Conditional Forwarding, the entries for the following should be like this example:
In my instance, my default IP Gateway address is 192.168.1.1.
- Local network in CIDR notation: 192.168.1.0/24
- IP address of your DHCP server (router): 192.168.1.1
Now save the changes we have made.
Pi-hole has now been successfully set up as an ad-blocker available to your local home network.
At the moment we are forwarding upstream queries to the default DNS servers. This should be set up as 8.8.8.8 and 8.8.4.4 which is Google’s DNS server. So lets set up Pi-hole as a recursive DNS server
Setting up Pi-hole as a recursive DNS server
We can use Pi-hole as our own recursive DNS server, so ALL our queries won’t be forwarded to Google’s DNS servers. This way we don’t have to rely on an external DNS server for all our requests, Pi-hole will perform the queries and then cache these requests locally for future requests.
For more information on how DNS queries work, please refer to this cartoon:
https://howdns.works/
So to set up pi-hole as a recursive DNS server, we will be using *unbound. You can also refer to to the documentation on the Pi-hole website.
To install unbound enter the following command in your Pi-hole instance:
pi@raspberrypi:~ $ sudo apt install unbound
After the installation, we need to set up the configuration file for unbound. Note that unbound will be using port 5335, this is because pi-hole is already running on port 53 which is for DNS requests.
Run the command to set up the configuration file:
pi@raspberrypi:~ $ sudo vi /etc/unbound/unbound.conf.d/pi-hole.conf
This will open up the vi editor, now we need to copy the following:
server:
    # If no logfile is specified, syslog is used
    # logfile: "/var/log/unbound/unbound.log"
    verbosity: 0

    interface: 127.0.0.1
    port: 5335
    do-ip4: yes
    do-udp: yes
    do-tcp: yes

    # May be set to yes if you have IPv6 connectivity
    do-ip6: no

    # You want to leave this to no unless you have *native* IPv6. With 6to4 and
    # Terredo tunnels your web browser should favor IPv4 for the same reasons
    prefer-ip6: no

    # Use this only when you downloaded the list of primary root servers!
    # If you use the default dns-root-data package, unbound will find it automatically
    #root-hints: "/var/lib/unbound/root.hints"

    # Trust glue only if it is within the server's authority
    harden-glue: yes

    # Require DNSSEC data for trust-anchored zones, if such data is absent, the zone becomes BOGUS
    harden-dnssec-stripped: yes

    # Don't use Capitalization randomization as it known to cause DNSSEC issues sometimes
    # see https://discourse.pi-hole.net/t/unbound-stubby-or-dnscrypt-proxy/9378 for further details
    use-caps-for-id: no

    # Reduce EDNS reassembly buffer size.
    # Suggested by the unbound man page to reduce fragmentation reassembly problems
    edns-buffer-size: 1472

    # Perform prefetching of close to expired message cache entries
    # This only applies to domains that have been frequently queried
    prefetch: yes

    # One thread should be sufficient, can be increased on beefy machines. In reality for most users running on small networks or on a single machine, it should be unnecessary to seek performance enhancement by increasing num-threads above 1.
    num-threads: 1

    # Ensure kernel buffer is large enough to not lose messages in traffic spikes
    so-rcvbuf: 1m

    # Ensure privacy of local IP ranges
    private-address: 192.168.0.0/16
    private-address: 169.254.0.0/16
    private-address: 172.16.0.0/12
    private-address: 10.0.0.0/8
    private-address: fd00::/8
    private-address: fe80::/10
After copying the configuration, press ‘I’ on your keyboard which will allow you to insert.
Then hold press CTRL + SHIFT + V to paste the configuration. Alternatively, you can Right Click within the terminal and select Paste.
After the text for the configuration file has been pasted into the pi-hole.conf file. Press ESC on your keyboard then type :wq, and then press ENTER to write and quit vi.
Next we need to restart unbound by entering the following command:
pi@raspberrypi:~ $ sudo service unbound restart
Awesome, unbound should now be up and running to be used as a recursive DNS server. We can test if unbound is working correctly using the following command:
pi@raspberrypi:~ $ dig pi-hole.net @127.0.0.1 -p 5335
Changing Pi-hole’s Upstream DNS settings
Now we need to change our Pi-hole upstream DNS servers.
So log into your Pi-hole admin console using the ip address of your Pi-hole and navigate to Settings then to the DNS tab.
Here we need to disable the Upstream DNS Servers that has been set up during the installation process. This should be Google’s DNS Server, so disable all options.
Next we need to set up our own cutom DNS servers, we need to enable Custom 1 and enter 127.0.0.1#5335 as the value for this entry.
Make sure you save the changes, the raspberry pi is now recursive DNS server!
Using Pi-hole as our DNS server
Now that Pi-hole is set up to be used as a DNS server for our local network, we can connect individual devices to Pi-hole. Alternatively we can connect our router to Pi-hole so devices in our home network defaults to using Pi-hole.
Each device will have it’s own method on how to connect to a new DNS server, but just make sure you put down the IP address of the Pi-hole as the DNS server. This is the same as the IP you entered on your browser previously, in my case it was 192.168.1.50.
To default your home network to use Pi-hole as a DNS server, you need assign your home router to use Pi-hole as a DNS server. In your router settings you need to go into your LAN settings (not the WAN settings), to configure a static DNS address under DHCP Settings. Then put down Pi-hole’s IP address in that field, which would be 192.168.1.50.
Check out the Pi-hole documentation for an example on how to set up your router.
To test if you have set up your router correctly, on your machine type the following command in your terminal. Just replace the IP address with your Pi-hole address:
> dig pi-hole.net @192.168.1.50
You should receive a response from Pi-hole indicating that it is working. You can also visit some very ad-heavy websites (such as news websites), you will notice empty spaces where an ad should be.
Conclusion
You have successfully set up a local recursive DNS server for your home network!
To add more websites to your blocklist, visit The Firebog which is a large collection of various blocked websites. For my Pi-hole set up, I’ve only entered the lists that have a green tick to minimize falsely blocked sites.
Also, to set up common whitelist websites for your Pi-hole you can visit https://github.com/anudeepND/whitelist. In this repository I only used the whitelist.py installation script.