Connecting your Flask application to AWS RDS (MySQL)
Setting up the AWS resources
Assuming your flask application with SQLAlchemy as an ORM is up and running and is currently using the SQLite database URI ‘sqlite:///example.db’. We can create the resources needed to set up our AWS RDS, in this case we will be using MySQL.
In this example my application was being served with AWS EC2, so I was able to leverage my existing flask-sever security group during set up.
Create a security group for the MySQL Database
We are first going to create a security group for our database. In this case, the database security group only allows connections that belong to the flask-server security group. The database security group will have the following inbound rules:
INBOUND RULES - (database-security-group)
| Type | Protocol | Port range | Source |
| HTTP | TCP | 80 | sg-0c0… / flask-server |
| MYSQL/Aurora | TCP | 3306 | sg-0c0… / flask-server |
Once this security group has been created we can use this during AWS RDS set up.
Create a MySQL Database from Amazon RDS
Choose MySQL as a database engine. Choose your Template based on your use case, I’ve used the Free Tier option for this.
Take note of the Database Master Admin and Master Password during setup.
For test purposes, Master Admin is “admin” and the Master Password is “password”.
Ensure that the database security group is selected and used for the AWS RDS
Let AWS spin up your MySQL database (this may take some time), once created click on the database identifier and then take note of the database endpoint (it should be something like this: …ap-southeast-2.rds.amazonaws.com)
Accessing the database with an EC2 instance
We can set up a temporary EC2 instance to set up and see if our database is working correctly. The AMI I used was:
- Ubuntu Server 20.04 LTS (HVM), SSD Volume Type - ami-09e67e426f25ce0d7 (64-bit x86)
Once the EC2 instance is up and running. Access the instance through SSH or use Sessions Manager
One inside the instance, update and upgrade the package manager then create and switch to a sudo user
$ apt update && apt upgrade
$ useradd -ms /bin/bash newuser
$ usermod -aG sudo newuser
$ sudo su newuser
newuser >
Find out which MySQL is available to install from the package manager and install your preference.
newuser > mysql --version
Command 'mysql' not found, but can be installed with:
sudo apt install mysql-client-core-8.0    # version 8.0.23-0ubuntu0.20.04.1, or
sudo apt install mariadb-client-core-10.3  # version 1:10.3.25-0ubuntu0.20.04.1
newuser > sudo apt install mysql-client-core-8.0
Connecting to the database
Once install connect to the database with the following
newuser > mysql -h ...ap-southeast-2.rds.amazonaws.com -P 3306 -u admin -p
-h: host endpoint for the database -P: port used for access -u: Master username specified -p: Master password specified
Enter your master password and now we are connected to the database
newuser > mysql -h ...ap-southeast-2.rds.amazonaws.com -P 3306 -u admin -p

Enter password:
Welcome to the MySQL monitor.  Commands end with ; or \g.
Your MySQL connection id is 15
Server version: 8.0.20 Source distribution
Copyright (c) 2000, 2021, Oracle and/or its affiliates.
Oracle is a registered trademark of Oracle Corporation and/or its
affiliates. Other names may be trademarks of their respective
owners.
Type 'help;' or '\h' for help. Type '\c' to clear the current input statement.
mysql>
We can also pass in our password through the same command:
newuser > mysql -h ...ap-southeast-2.rds.amazonaws.com -P 3306 -u admin -ppassword
note there is no space between the -p flag and the password.
Setting up our Flask application
Create the database in MySQL
In order for our Flask application to create tables through SQLAlchemy, we need to create the database in MySQL
So once we have connected to the database we can run the SQL command:
CREATE DATABASE <“databasename”>;
example:
CREATE DATABASE countpool;
mysql> CREATE DATABASE countpool;
Query OK, 1 row affected (0.00 sec)
mysql>
New MySQL database URI for SQLAlchemy
Now we need to use a new database URI so we are able to create the database tables for the Flask application. So back to where our Flask application is being served, we need to access the server to make the following changes.
SQLALchemy recommends that we use PyMySQL as a database connector for MySQL. This is one of the benefits of using an ORM such as SQLAlchemy, we can easily use a SQLite database during development then switch to MySQL during production.
So lets we’ll need to install PyMySQL and then import the library in the application.
newuser > python3 -m pip install PyMySQL
Collecting PyMySQL
  Downloading PyMySQL-1.0.2-py3-none-any.whl (43 kB)
    |████████████████████████████████| 43 kB 3.0 MB/s
Installing collected packages: PyMySQL
Successfully installed PyMySQL-1.0.2

newuser > pip freeze > requirements.txt
Referencing a new database URI
Here we can use pymysql to help SQLAlchemy connect to the MySQL database.
mysql+pymysql://<"username">:<"password">@<"host">/<"dbname">[?<"options">]
example:
mysql+pymysql://admin:password@...ap-southeast-2.rds.amazonaws.com/countpool?charset=utf8mb4
replace the ‘sqlite:///example.db’ with the new URI
from flask import Flask
from flask_sqlalchemy import SQLAlchemy
import pymysql

app = Flask(__name__)
app.config['SQLALCHEMY_DATABASE_URI'] = 'mysql+pymysql://admin:[email protected]/countpool?charset=utf8mb4'
db = SQLAlchemy(app)
Using SQLAlchemy to create the database tables
Once the database URI has been changed to direct to MySQL, create the database tables using SQL alchemy’s create_all() method.
newuser > python3

Python 3.8.5 (default, Jan 27 2021, 15:41:15)
[GCC 9.3.0] on linux
Type "help", "copyright", "credits" or "license" for more information.
>>> from countpool import db
>>> db.create_all()
We can also put db.create_all() in our flask application, so SQLAlchemy can try create the database tables if they aren’t present yet.
from flask import Flask
from flask_sqlalchemy import SQLAlchemy
import pymysql

app = Flask(__name__)
app.config['SQLALCHEMY_DATABASE_URI'] = 'mysql+pymysql://admin:[email protected]/countpool?charset=utf8mb4'
db = SQLAlchemy(app)

class Timer (db.Model):
    id = db.Column(db.Integer, primary_key=True)
    title = db.Column(db.String(100), nullable=False)
    goal = db.Column(db.Text, nullable=False)
    date_created = db.Column(db.Text, nullable=False)

db.create_all()
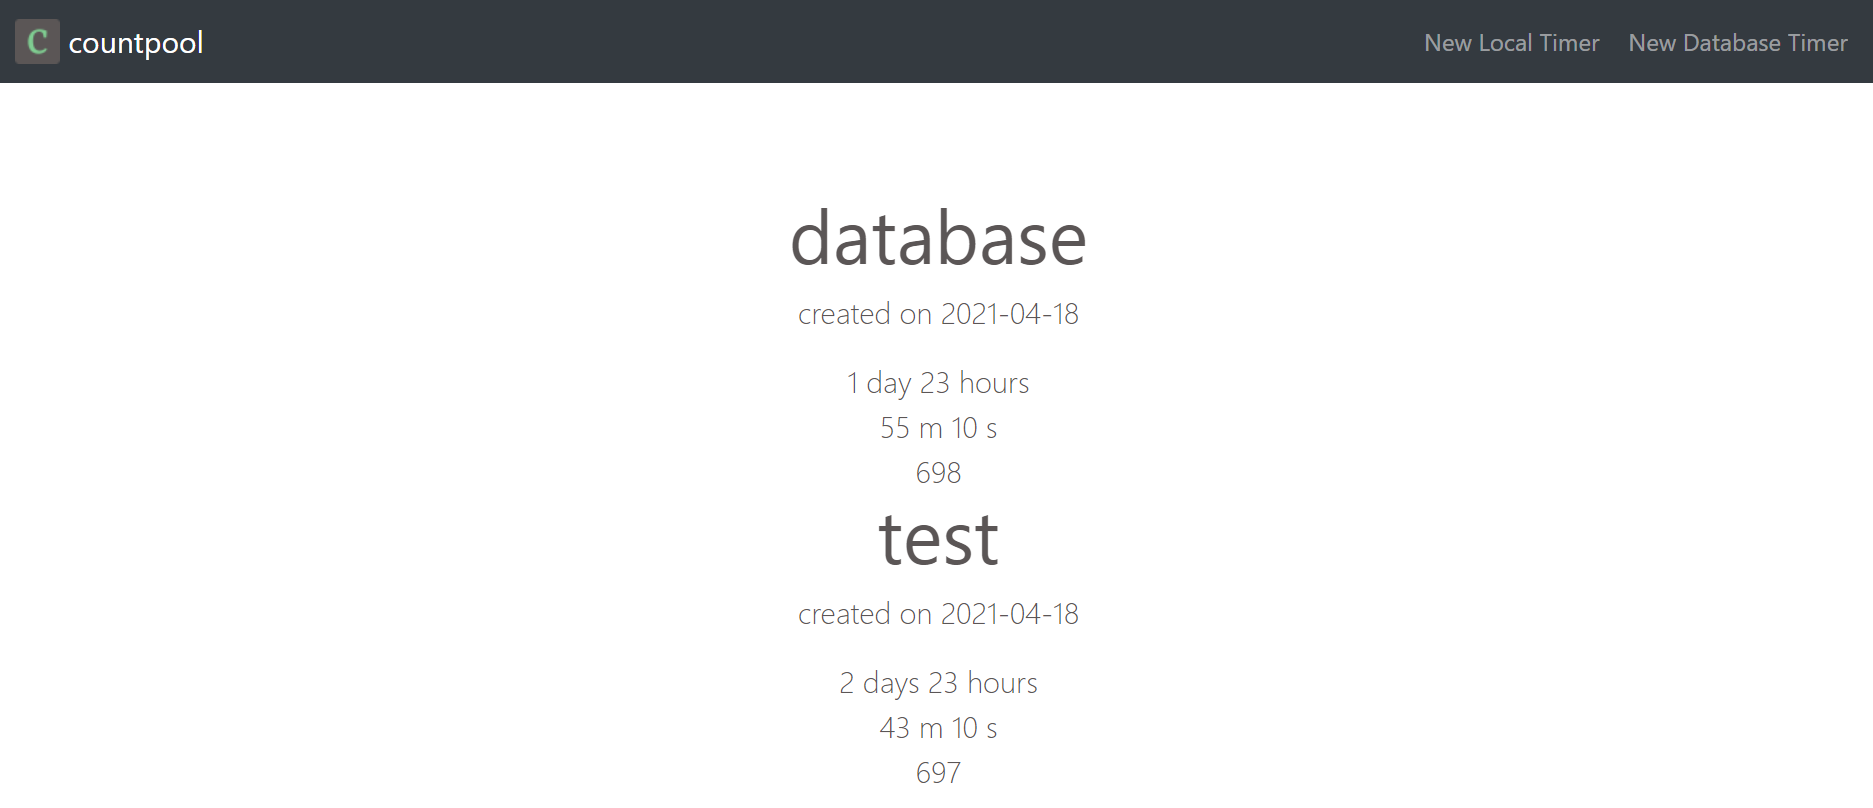
Lets try out if everything is working!
So try adding data from your website to the database to see if everything is working properly. Most of the time, an internal server error 500 will be thrown if the application isn’t communicating to the database properly.
Some database commands
So let get back into the MySQL database to see if the data has been populated there. We’ll have to use database queries to access the data from our MySQL database.
This command will show the available databases we can work with. AWS will create some of these tables to save some configurations.
mysql> SHOW databases;
mysql> SHOW databases;
+--------------------+

| Database          |

+--------------------+

| countpool          |
| information_schema |
| mysql              |
| performance_schema |

+--------------------+
4 rows in set (0.01 sec)
This command will allow use to use our target database.
mysql> USE countpool;
mysql> USE countpool;
Reading table information for completion of table and column names
You can turn off this feature to get a quicker startup with -A
This command will show the tables that SQLAlchemy has created with the create_all() method.
mysql> SHOW tables;
mysql> SHOW tables;
+---------------------+

| Tables_in_countpool |

+---------------------+

| timer              |

+---------------------+
1 row in set (0.31 sec)
This command will show all the rows available from the timer table.
mysql> SELECT * FROM timer;
mysql> SELECT * FROM timer;
+----+----------+---------------------+--------------+

| id | title    | goal                | date_created |

+----+----------+---------------------+--------------+
|  1 | test    | 2021-04-22 02:09:00 | 2021-04-18  |
|  2 | database | 2021-04-21 02:21:00 | 2021-04-18  |
+----+----------+---------------------+--------------+
2 rows in set (0.00 sec)
Conclusion
We have gone through the process of creating the MySQL database on AWS RDS and itegrated it with SQLAlchemy. I hope this guide has been helpful and clear enough to follow.